I know I got my photos right when someone tells me “I’ve seen your stunning pictures of this place and I so wanted to go – so I did!”. Or “it feels like I was there with you, so much vibe and emotions!”. For me it’s about sharing beauty, and places, and beautiful places, and it takes sometimes no more than two minutes to show it exactly the way you saw it and felt it.
Elevate your travel photos with these easy tips:
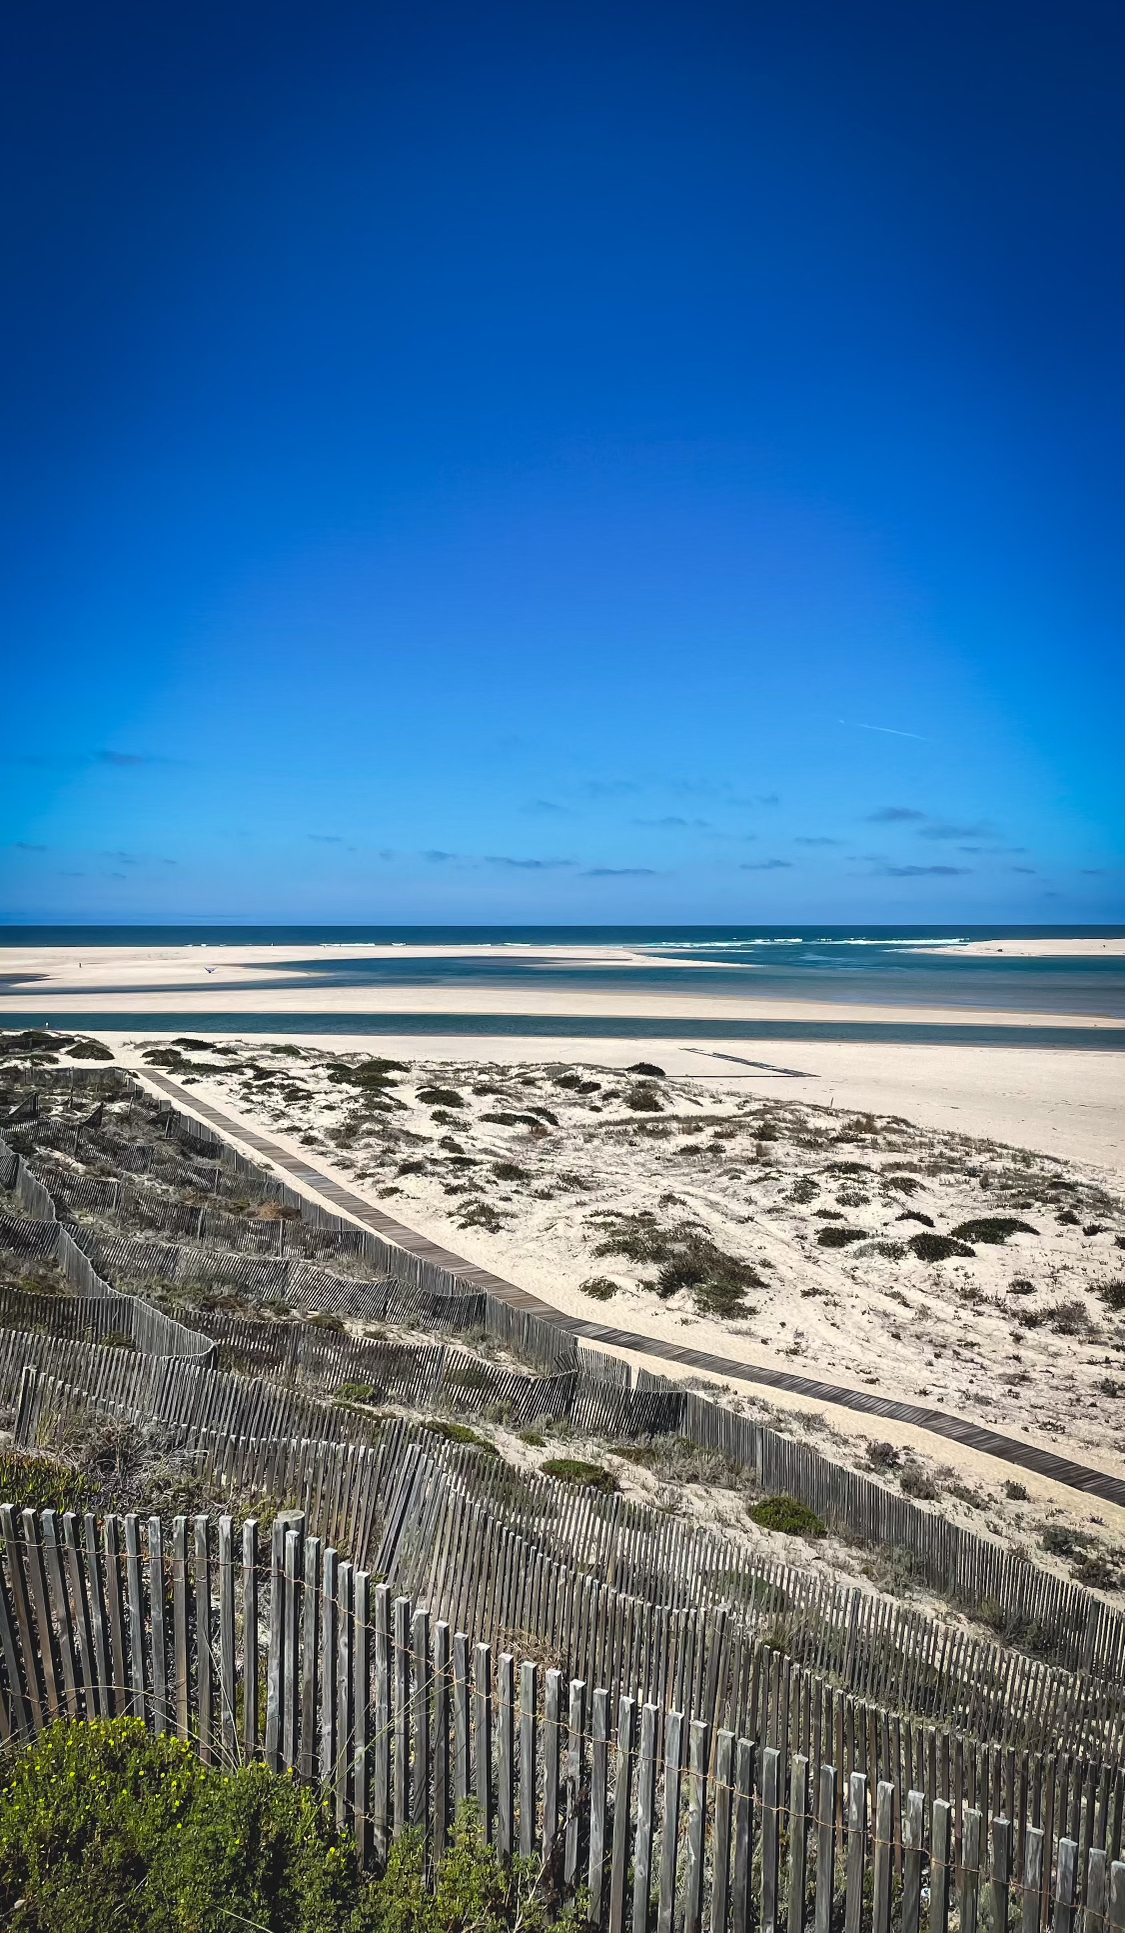
1. Frame it and make it right
Understanding and mastering framing is key to creating visually compelling images. Once you see how it works, you will not be able to unsee it, I promise.
Composition techniques like the rule of thirds, where you divide the frame into a grid of nine equal sections and place your subject along the intersecting lines or at their intersections, helps to drive the attention to the main character of your photo, be it a person, a building, or a tiny detail.

If you are taking a portrait photo of your friend or a local, try to position their eyes on one of the intersections. Experiment with diagonals which will literally guide the look from one point in the photo to another – simplest example would be taking a photo of a road and positioning it diagonally in the frame so that it begins from one of the bottom corners and goes up.


Fibonacci spiral first of all sounds cool, but it primarily works same as diagonals by leading your gaze and adding dynamic energy to your shots:

2. Keep it Level
Level that horizon finally! I mean, it can be crooked of course if you want to make it a point, but let’s be honest with ourselves – that’s not what you were trying to do. So fix it. Now. By using the grid overlay on your camera or smartphone. This simple adjustment can make a world of difference in the overall aesthetic of your images.
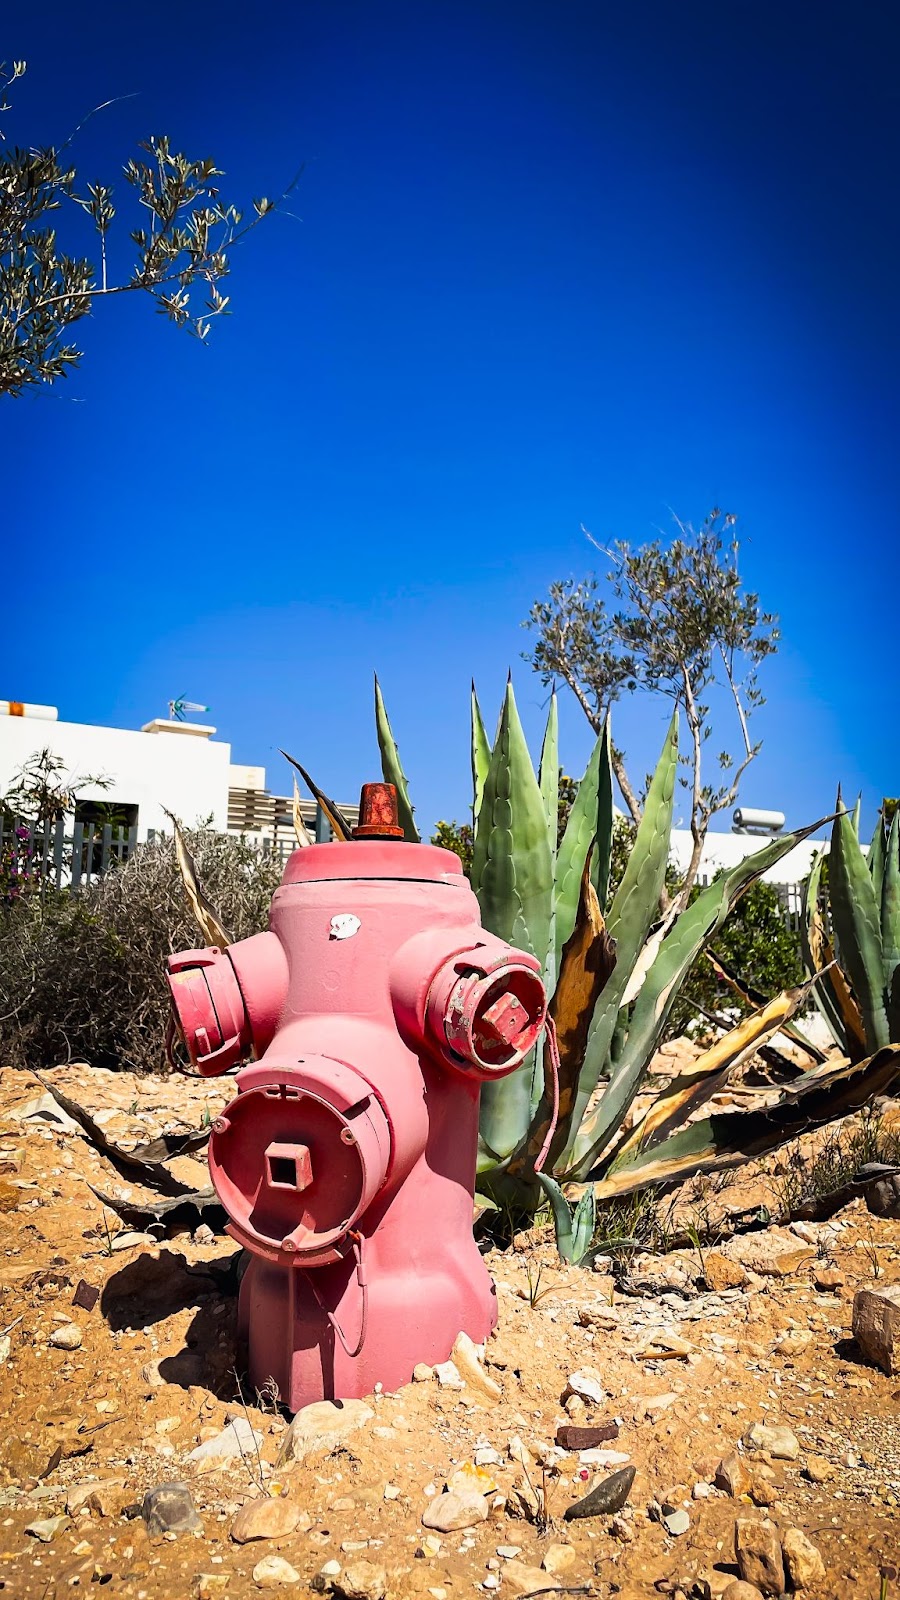
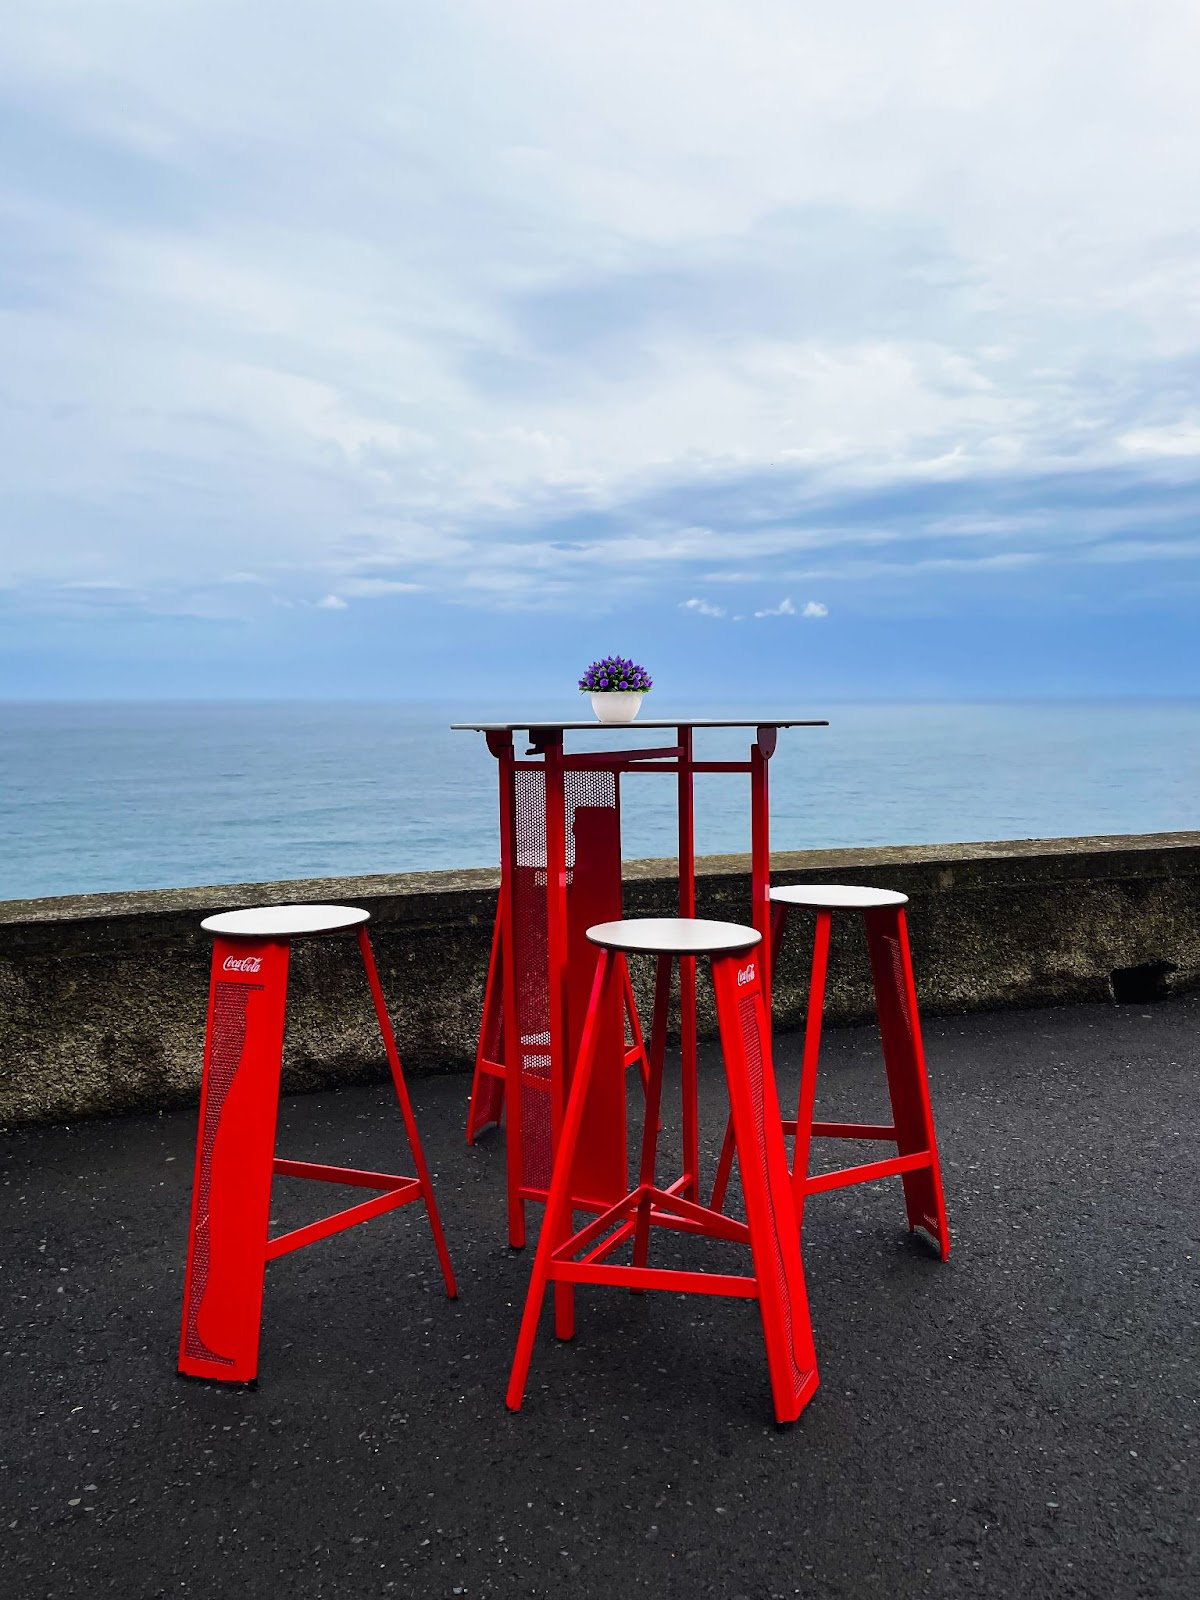
3. Look for colors
Look for vibrant color blocks that pop against the backdrop of your scene, or color accents. Whether it’s a street mural or the contrasting tones of a sunset sky, the color is there to use and it will add depth and captivating details to your photos. If you want to go deep you can check the multiple tools available online, such as a color wheel, to find out the most pleasing color combinations. Though nature has figured everything out for us already, just try to observe and see it.
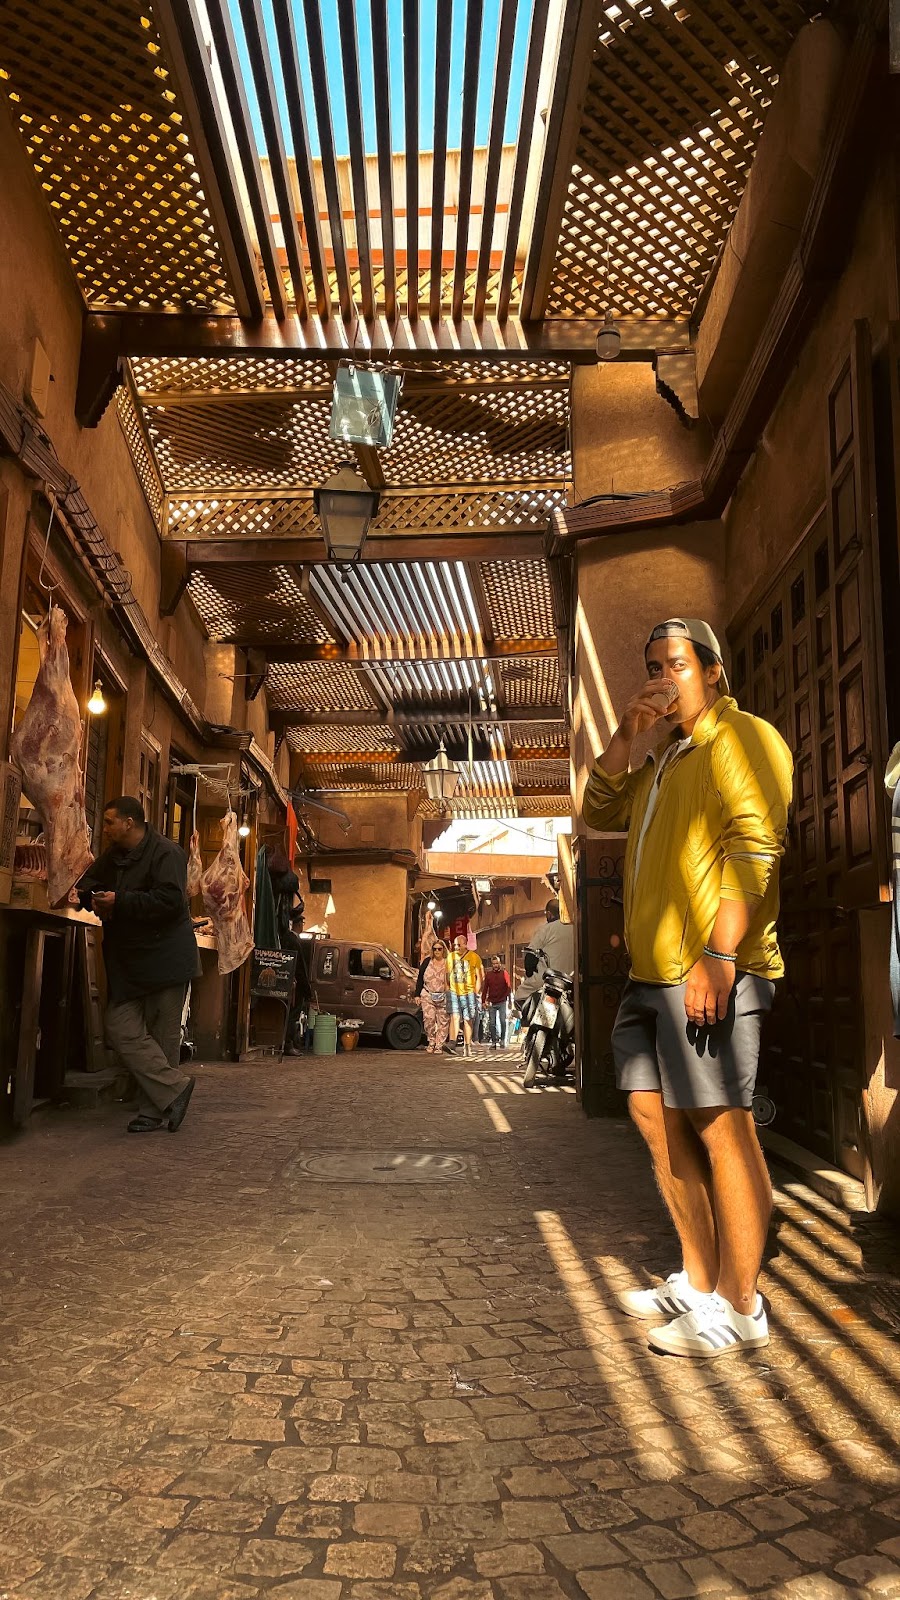
4. Look for shadows (in yourself too)
Light and shadow combo is your dear friend, as it can add so much drama and dimension to your images you won’t believe it. Having an expressed contrast and visible patterns created by the light and shadow requires sun, obviously, so if it’s a gray cloudy day, just forget it and focus on something else. Food, for example. Otherwise, enjoy the game!

5. Look for patterns
From the intricate tiles of a mosque or a house in Porto, to the repetitive rows of beach umbrellas, patterns are everywhere in the world around us. Also in people, but that’s another story. Incorporate geometrics into your compositions and see what happens.


6. Look for angles
Don’t be shy to kneel, go down low to the ground, or take any other weird pose to explore different angles and viewpoints to capture your surroundings. You can also stay moderate and just tilt your phone 180 degrees so that your camera is at the bottom.


7. Look for the mood
Black and white photography has a timeless appeal that can evoke a sense of nostalgia or drama. That’s the official version. Unofficially, convert all boring photos to B&W and let the audience find out the story behind it.
No, seriously, pay attention to the mood and atmosphere of your surroundings, and consider converting your images to black and white to enhance their emotional impact.

These two horses at the beach in Tamraght, Morocco were exhausted and bothered by the flies, while their owner was trying to persuade me to hop on and ride as far as I wanted. But as tired as they appeared, they were also caressing and supporting each other, and it was so beautiful and genuine, that leaving all colors out and just keeping the love in focus seemed the only right way to go about it.

8. Best kept secret: Natural backlight. Shhhhh..
One of the best-kept secrets of travel photography is the magical natural backlighting, especially during the golden hour – that precious one hour shortly after sunrise or before sunset when the light is soft, warm, and diffused. Whenever your subject is in front of the light source (let’s call it sun), the sun illuminates your scene from behind. You have surely seen this beautiful halo effect, with soft, glowing edges that add a touch of ethereal beauty to the photos. Well, they can be made by you. Experiment with different angles and compositions to make the most of this enchanting light and watch as your travel photos come to life with a dreamy, golden glow.
Beware though: backlight photography is addictive, so try to focus on something else from time to time. Food for example.


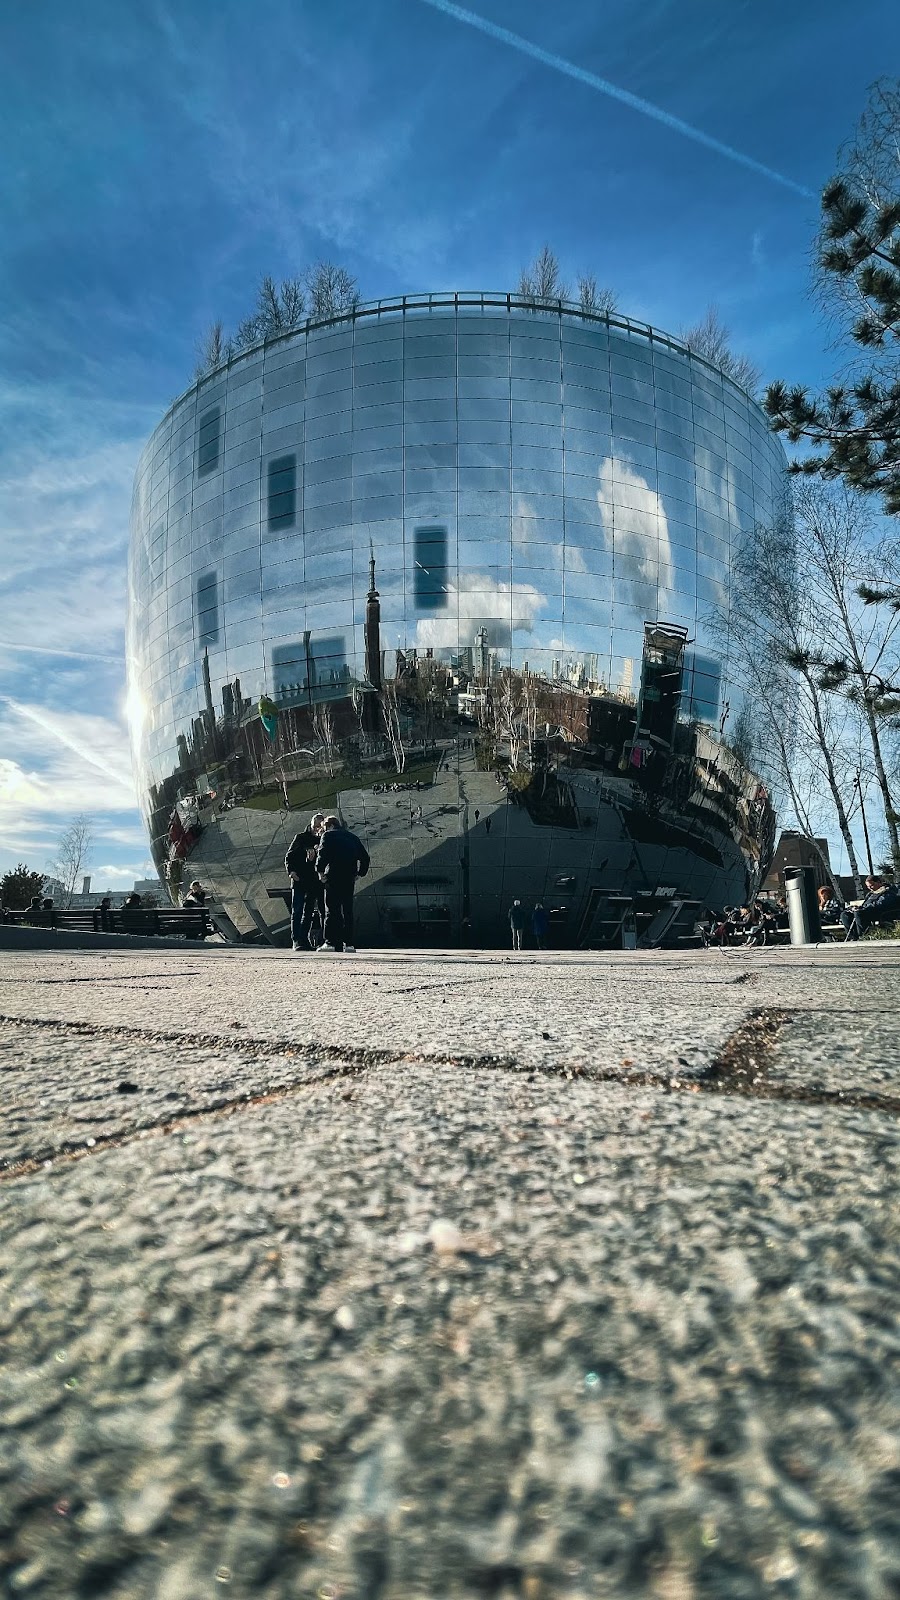
9. Look for reflections and (maybe) use light distorting objects
Incorporating reflections into the frame can add a touch of whimsy and intrigue to your travel photos, so they will look mind bending. Check out reflective surfaces like glass windows, ocean shore, or polished metal surfaces (personally I prefer the ocean shore to the windows and metal stuff, but that’s really the matter of taste).

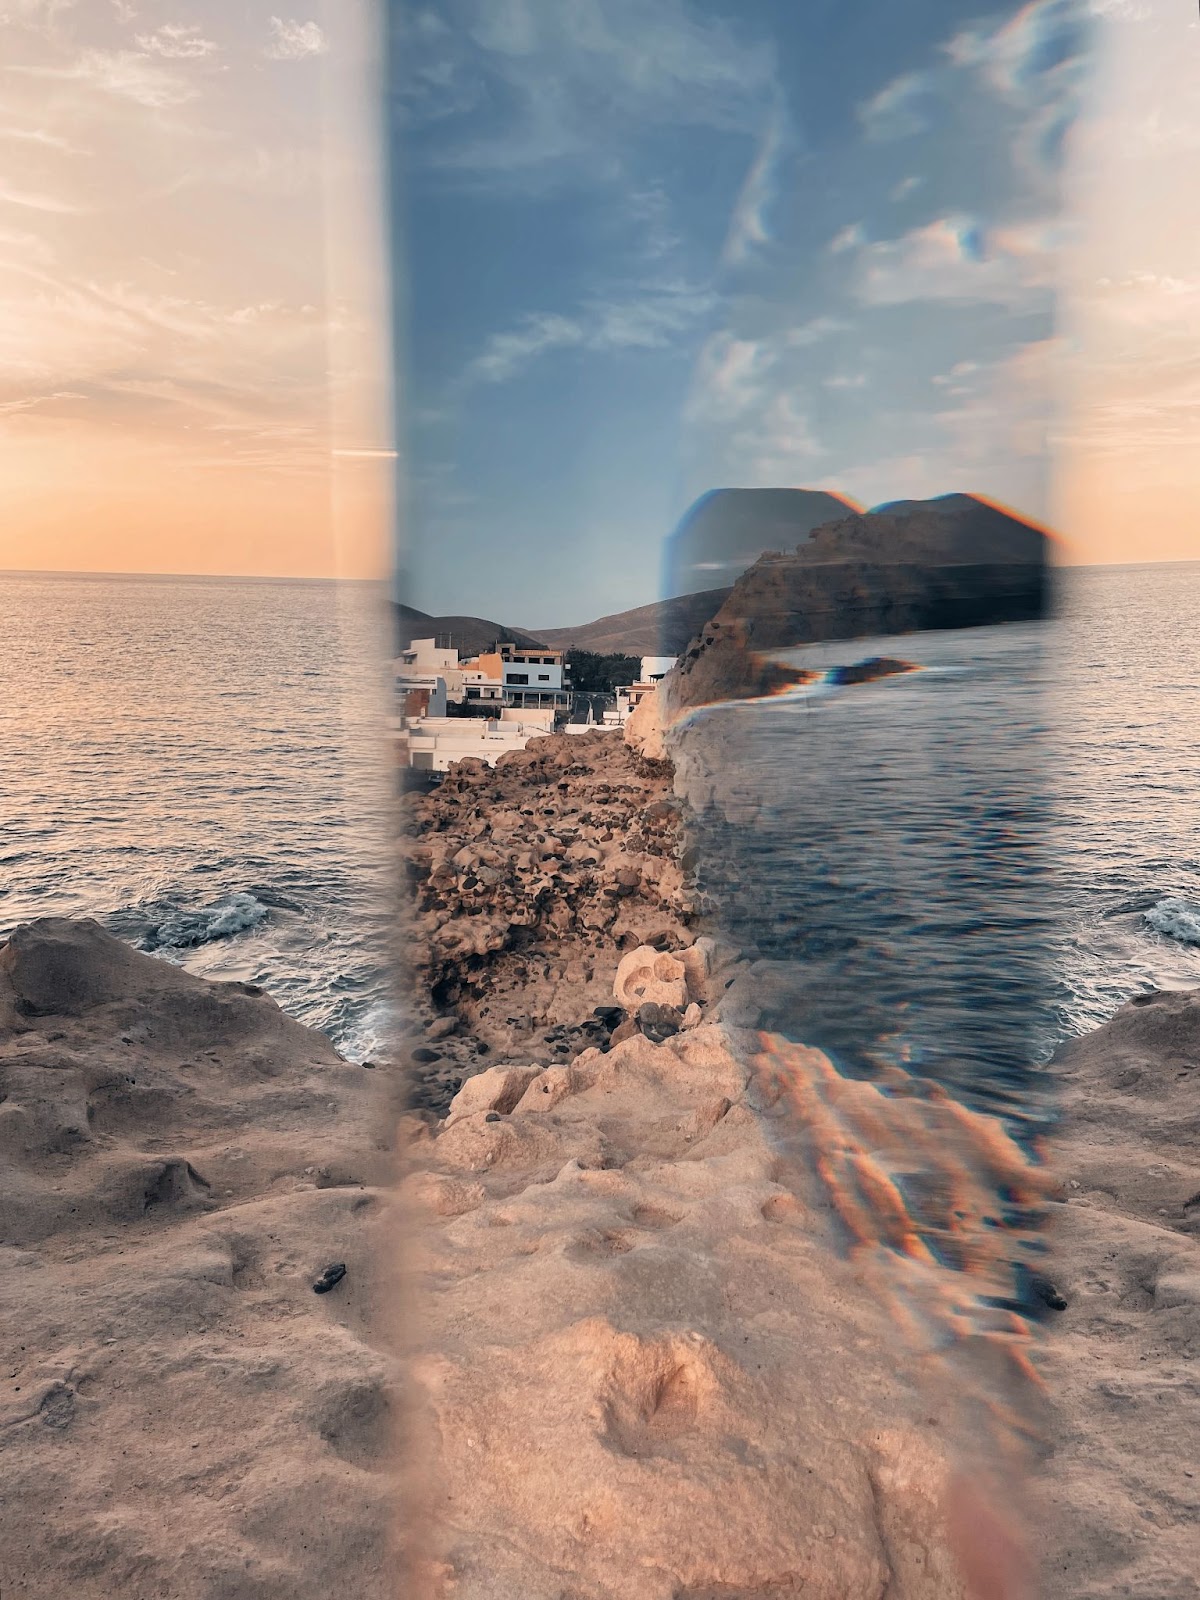
Experiment with placing objects in front of your phone or camera lens to create mesmerizing light refractions and distortions. It will instantly transform ordinary scenes into extraordinary works of art, inviting viewers to see your world through a fresh perspective. You can use a small faceted crystal that doesn’t take up space in your backpack, or a prism that is also pretty small but gives you endless opportunities.
There are no rules of how to use them, you gotta try it yourself by changing proximity to the lens, angle, positioning. Surely things like crystal and prisms work better with sunlight, distorting and redirecting it, creating rainbows, but you can use them on a cloudy day, too, if you feel more creative.

10. Enhance with Lightroom:
Once you’ve captured your images, take them to the next level with Adobe Lightroom app for mobile phones. Use its powerful yet easy to use editing tools (please do not miss their presets) to fine-tune your photos and bring out the true beauty of your travel memories. I am quite surprised by how many people today still don’t use graphic editors and by doing so, do not unlock full potential of their photos – I have seen so many good shots that would look way better (and still authentic) with a slight touch up.
I use some other apps apart from Lightroom, such as LD (Lens Distortion) where i can play with sunlight and halo, intensify snowfall or rain drops, but I feel that these effects are easy to overuse, so i only resort to them to emphasize what’s already there instead of adding sunshine to a picture of a cloudy day.


These tips and techniques are not something complex, they only take a bit of practice to learn seeing things, and will allow you to have a whole new arsenal for telling your adventure story. Happy shooting!